Note: As a Possip Partner, you have permissions as a Admin (Super User) or a General user.
- Account Admin (Super User): You have access to the Possip platform AND the ability to manage (add or delete) administrators. Directions to review and manage your admins follow.
- General Admin: You only have access to the Possip platform and do not have the ability to add or delete administrators. If you are a General Admin at a school or on a district level, click here to skip to learn how to review your admins.
If you think that your permissions are incorrect, please contact your Customer Relationship Manager!
Admin (Super User): Review and Manage Admins
STEP 1: Log in to https://www.weeklypossip.com/.
STEP 2: If you have the ability to manage admins (Super User) you will see a Manage Admin button at the top right of the page next to the Help Desk button. Click the Manage Admins button.

STEP 3: You will arrive at a new page that displays a table containing all your active and invited admins. You'll have the ability to see and manage admins (at any level, if applicable).
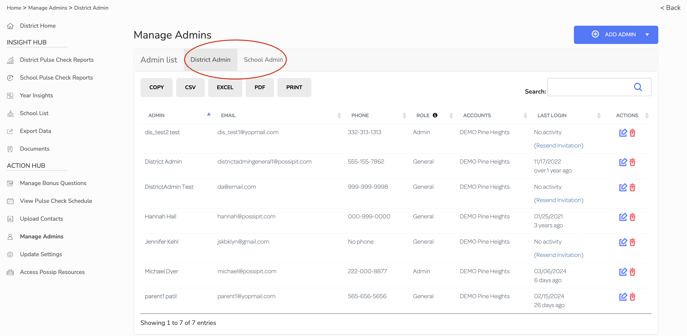
STEP 4: The Actions column on the far right has two icons that allow you to edit or delete an admin.
- Click on the blue Pencil icon to edit an admin's information.
- Click on the red Trash icon to delete an admin and remove their access to the Possip platform.

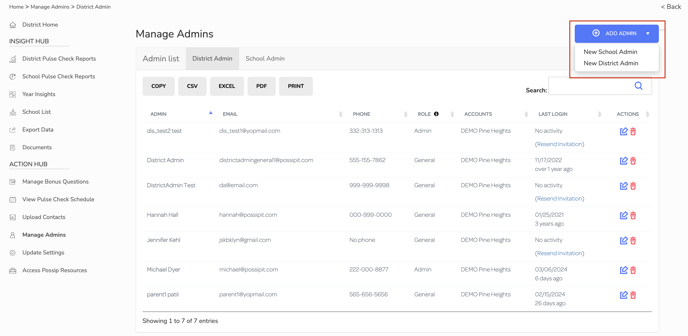
STEP 5: Click on the blue Add Admin button to add a new Admin. If applicable, select whether you would like to add a New School Admin or New District Admin.
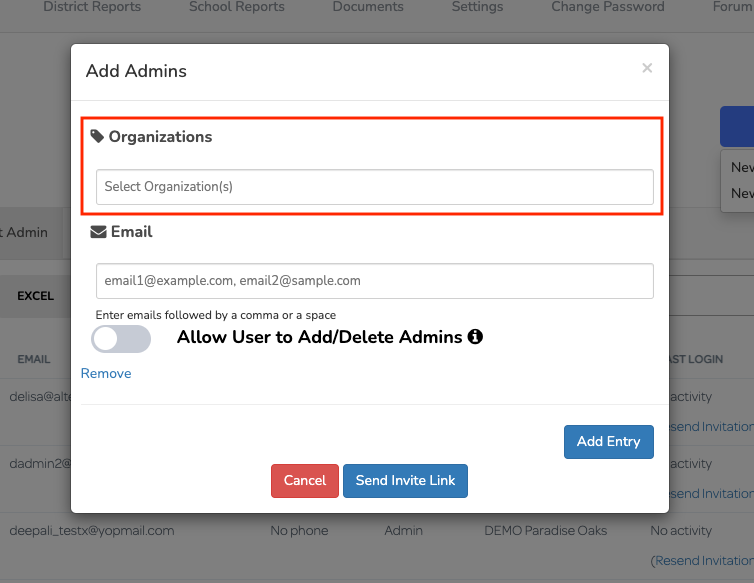
STEP 6: After clicking on the Add Admin button a pop up form will appear. Select the organization(s), account(s), school(s), or district(s) that you would like to grant access to.
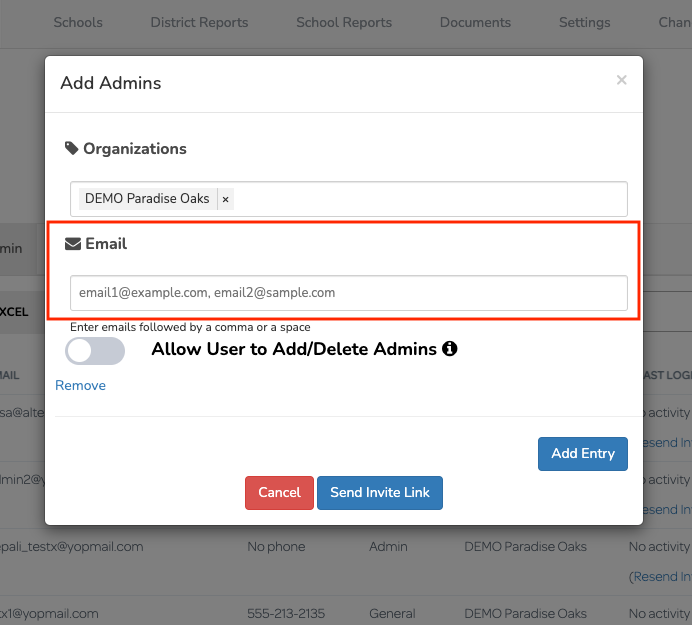
STEP 7: Input the email address of the intended admin(s). You can add multiple emails as long as they are separated by a comma or space. You can also copy and paste a list of emails from an excel document to make adding multiple admins at once easier.
STEP 8: The Allow User to Add/Delete Admins toggle button creates a Super Admin. A Super Admin will have access to the Possip Platform and the ability to add or delete admins.
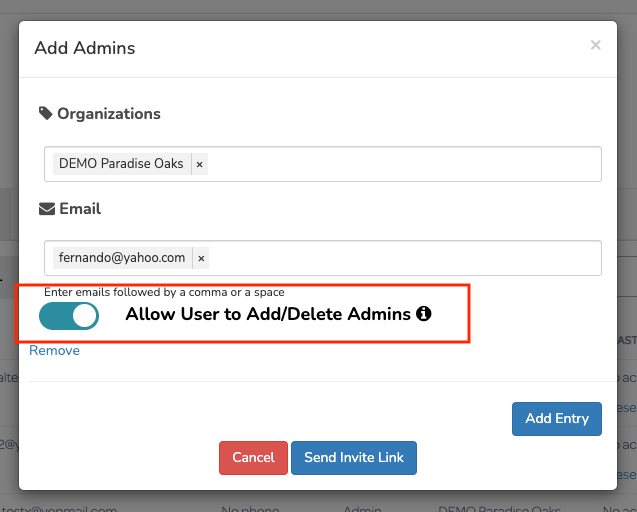
STEP 9: The Add Entry button allows you to add a new list of admins to a particular set of schools or districts. It allows you to add multiples lists of admins from the same pop up form. 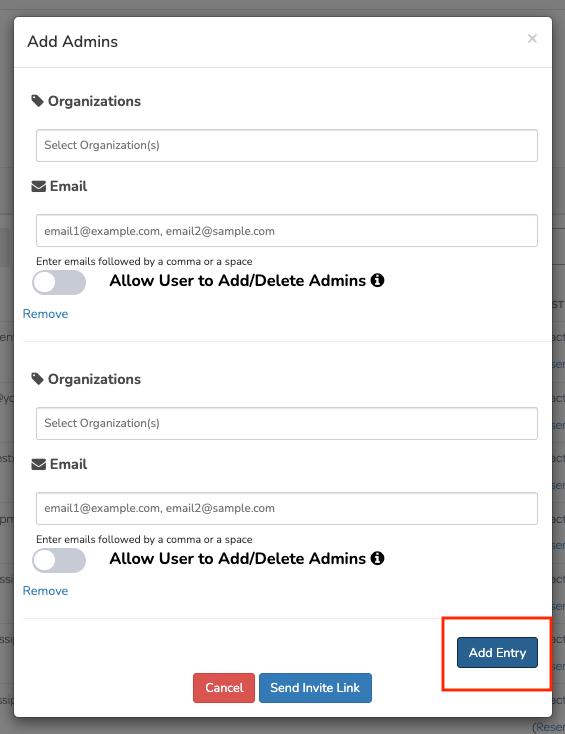
STEP 10: After all fields in the Add Admin form have been completed. Click on Send Invite Link. This button will send an email inviting prompting them to sign up for a Possip account.

STEP 11: The Sign Up button will direct them to a short list of personal, identifiable questions. Upon completion, the web browser will redirect them to log in to Possip.
General Admin: Review Admins
Note: While General Admins have access to the Possip platform, you do not have access to the Manage Admins page. In order for you to view the admins list, follow the steps below.
ALL Accounts / Organizations / District Admins:
1. Log in to https://www.weeklypossip.com/.
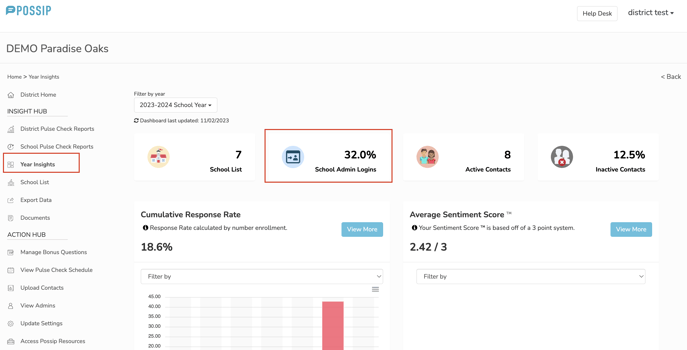
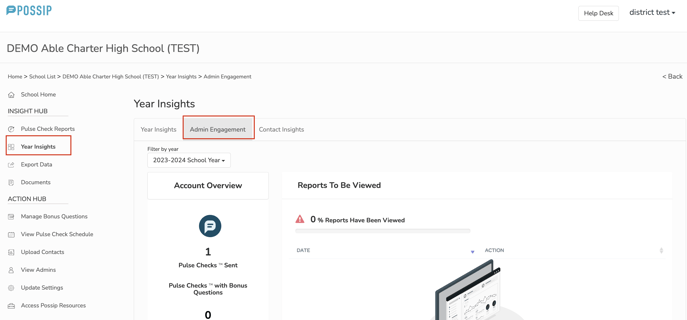
2. Using the left navigation menu bar, click on Year Insights.
3. Within Year Insights, click on the School Admin Logins box.
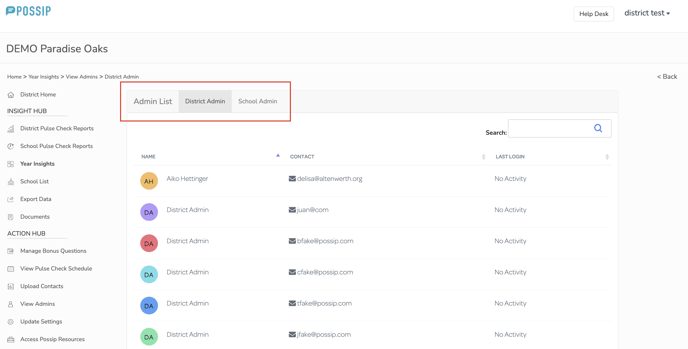
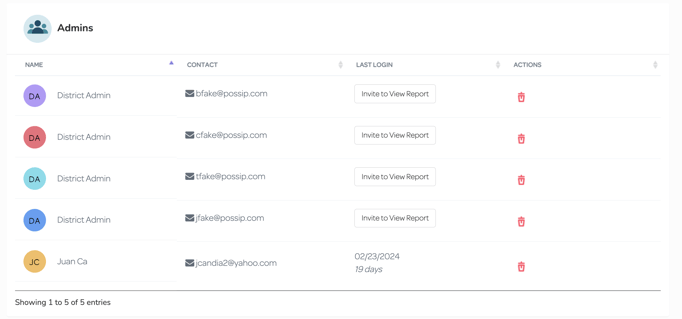
4. In the School Admin Logins section, you can view the entire list of administrators and easily switch between the School Admin List and District Admin List for better organization and management.
Individual Account / Organization / School Admins:
1. Using the left navigation menu bar, click on Year Insights.
2. Within Year Insights, click on the Admin Engagement tab and scroll to the bottom.
If you have any questions about this process, please send us an email or use our chat!